Showing posts with label DIY. Show all posts

Saturday, June 29, 2013

A little bit of summer...

Pictures from the garden.


Mandevilla


Water rock and Hostas


Grass
 

Tuberous Begonia
 

Daffodils
 

Tuberous Begonias


Hosta
 

Roses


More roses

 
New shed window


Pond


Hosta
 

Peonies

Saturday, December 22, 2012

DIY: Christmas Centrepiece Arrangement

After working at a greenhouse this past year, I learned how to make centrepieces with different types of greens - and yes, they are real greens. They are super easy, but take a lot of supplies and a little practice. Add whatever bulbs, sparkly sticks, bows, and anything else you want to use to spice it up. They are great to add a natural Christmas-look to your home and will be the centre of attention at your holiday party.


Monday, October 29, 2012

Tuesday, October 23, 2012

Painted Pumpkin Project: Don't Settle for Orange Pumpkins!

So the Succulent Pumpkins I made at the beginning of the month made it through Thanksgiving. They were a great centrepiece for the dinner, however they went to mush shortly after. Everywhere I looked, I couldn`t find anymore white pumpkins. People were either sold out or their white pumpkins weren`t the right size. I began to give up since I really didn`t like how the plants looked in the traditional orange pumpkins. And then while waiting in line at the grocery store, I saw it...the Chatelaine cover and decided: why settle for orange pumpkins? Pick a colour to match whatever room or setting you want.

I painted one black and spray painted the other brown. I wouldn't recommend spray painting pumpkins. It looks great, but takes almost 24 hours to dry. It was extremely sticky. The paint dries a lot faster. I loved the Chatelaine pumpkins. They were painted with pale pinks and shimmery golds. So you can really get creative with the colours.

All the plants used were succulents that I purchased from Martha's Greenhouse in Windsor.


 Black Succulent Pumpkin with Orange Bow


A little Halloween with the candles.


 Brown Succulent Pumpkin with Orange Bow


My two boring orange pumpkins.


Onyx stole my pumpkin top and ate it. Made a big mess on the grass.


Carve out the pumpkin top to fit the planter's size. Scoop out the seeds and insides. Paint pumpkins starting from the bottom. The paint will drip down and the bottoms only need one coat of paint since they won't really be seen.


Pumpkins need at least 2-3 coats.


Love the orange bows :)


Buddy checking out the situation - Also put a paper towel down in case there are any wet spots on the bottom!


I really love how the succulents look.


Add Spanish Moss to fill in the gaps and hide the soil.

Monday, October 1, 2012

Project: Succulent Pumpkin Planters

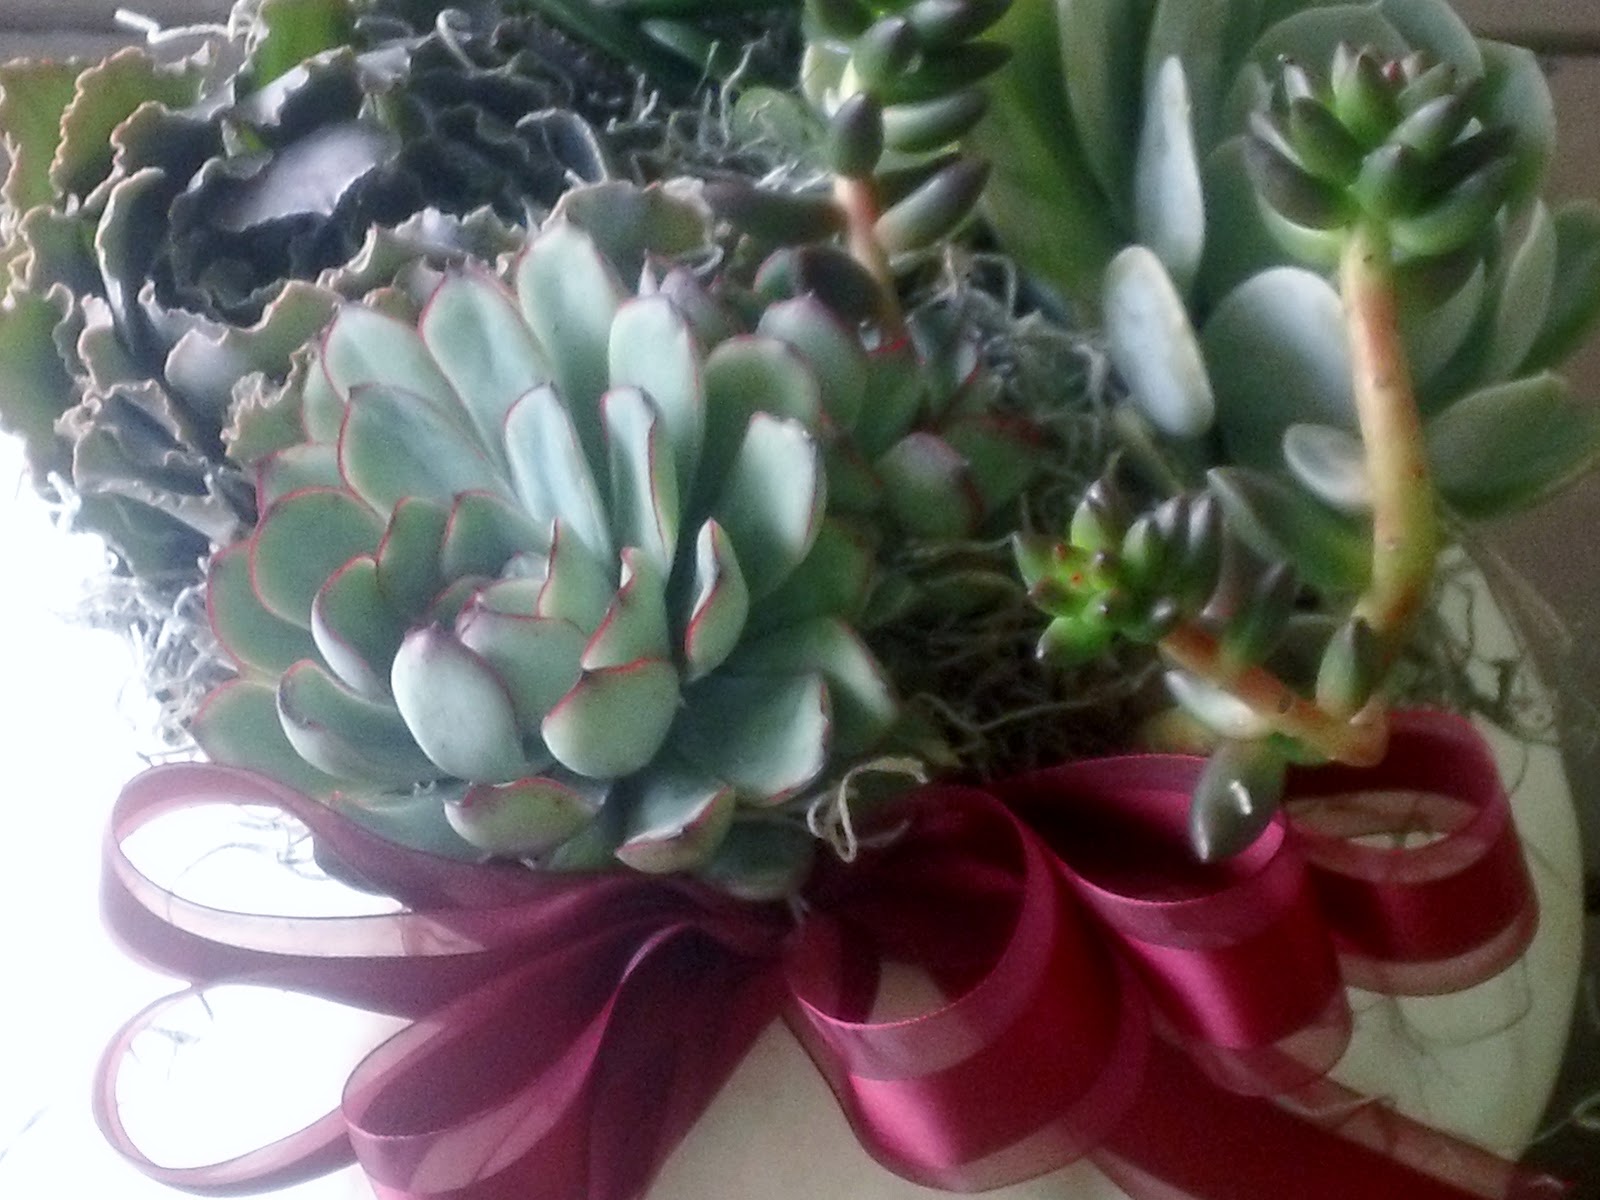
I got this great idea at work to create succulent pumpkin planters. First, carve off the top of a pumpkin. I used white pumpkins. They have a great shape and are easier to cut. Plus white pumpkins are unique and trendy this season. Fill a small plastic container with succulents and slip it into the carved pumpkins. It is important to plant the succulents in a container because it will allow the display to last longer. Add a bright fall bow for some colour and Spanish moss to fill the empty spaces. It is a great centrepiece for any table or porch for Thanksgiving and Halloween. Also the pumpkin can easily be replaced once it begins to rot because of the plastic container. Once the season is over, remove the container and keep the plants near a sunny window. The last two pumpkin pictures were made and are available for purchase at Martha's Greenhouse in Windsor. However if you are feeling creative and want to try it yourself, all materials are available for purchase at Martha's as well.


The one for my grandparents


The one for my mom


Use a variety of succulents


Able to purchase this one at Martha's Greenhouse in Windsor


Also found at Martha's Greenhouse

Friday, September 28, 2012

Falling for Fall

Falling for Fall with some festive decorations. As I mentioned before, I absolutely love fall. The weather, activities, food, and warm clothes! I made this wreath for my mom last fall and I decided to update it a little after it was squished in the closet for a year. The bows were made with brown and sparkly orange ribbon that I bought from Martha's Greenhouse in Windsor. They take about five minutes to make and they look great hanging from a fence, attached to your porch, or to cover up an unattractive spot in your garden. She has different colours to mix and match or you can buy them already made for $19.99.

Here are some photos:


Related Posts Plugin for WordPress, Blogger...